![]()
Setting up Obsidian with the Obsidianite Theme and Smart Composer Plugin
I recently recorded a quick walkthrough of how I set up a fresh Obsidian vault. My goal isn’t complexity; I prefer a setup that looks good with minimal effort and provides powerful features out-of-the-box.
This post documents that process, focusing on the Obsidianite theme and the Smart Composer community plugin.
The Obsidianite Theme: Aesthetics without Fuss
First things first, let’s change the default look. I’m a big fan of the “Obsidianite” theme by Benny Guo.
You can install it by going to Settings > Appearance > Themes > Manage. Search for “Obsidianite” and click “Install and use”.
Why Obsidianite? Honestly, it’s mostly about the bold fonts. They have this subtle but pleasing gradient effect that just makes headings and emphasized text pop.
It also has nice horizontal separators (---) and generally feels polished without requiring me to spend hours tweaking CSS snippets. I want to take notes, not become a theme designer!
Integrating AI with Smart Composer
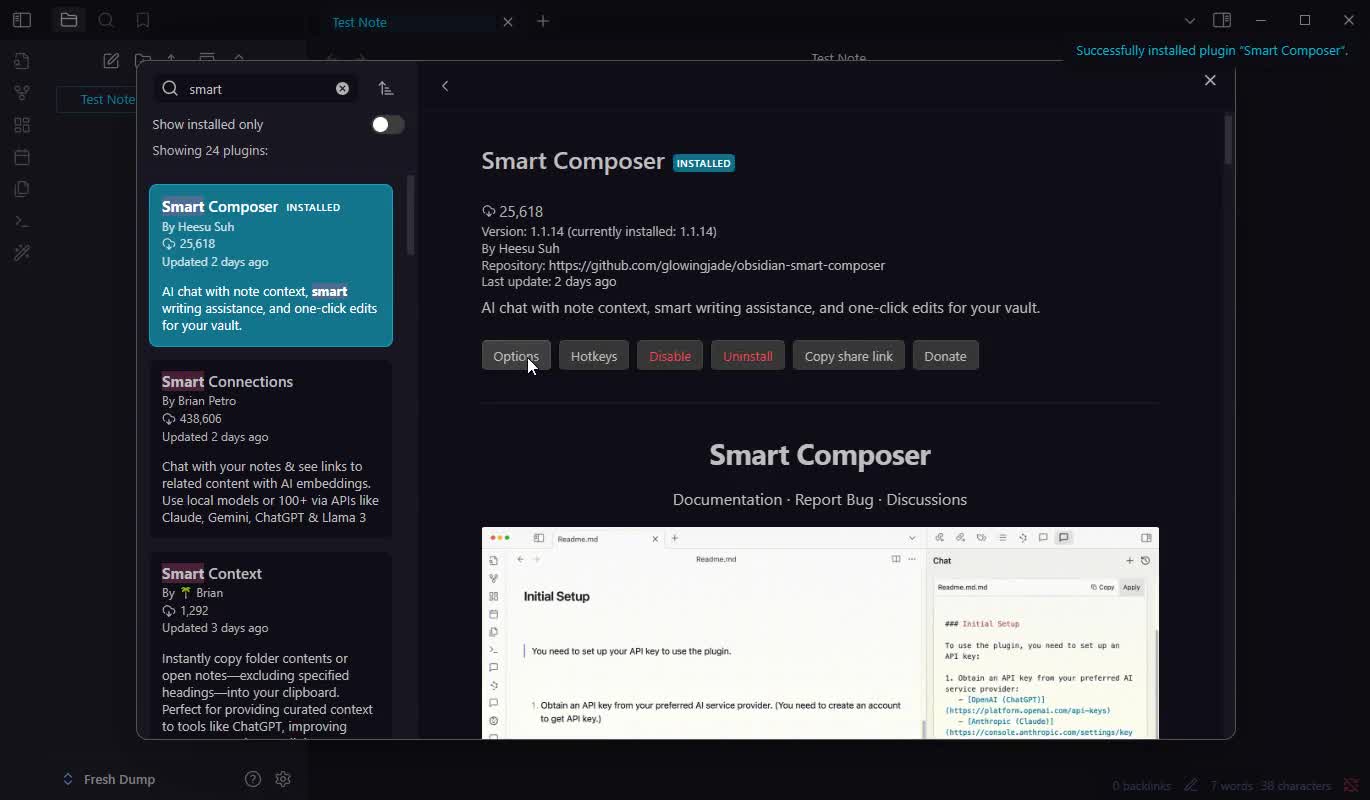
The real magic comes from the “Smart Composer” plugin by Heesu Suh (GitHub repository). This plugin provides an interface to various Large Language Models (LLMs) directly within Obsidian.
To install it:
- Go to
Settings>Community plugins. - If it’s your first time, you’ll need to “Turn on community plugins”. Be aware of the security implications, as with any third-party code.
- Click
Browse, search for “Smart Composer”. - Click
Install, thenEnable.
Configuring Smart Composer
Once enabled, you’ll find “Smart Composer” in the settings sidebar. This is where you configure your AI providers.
API Keys and Providers
Smart Composer supports a wide range of LLM providers, including OpenAI, Anthropic, Google (Gemini), and importantly for speed and cost-effectiveness, Groq.
You’ll need to get API keys from your chosen providers and enter them here. In the video, I set up my Groq key (which is incredibly fast for inference) and my OpenAI key (primarily for the embedding model).
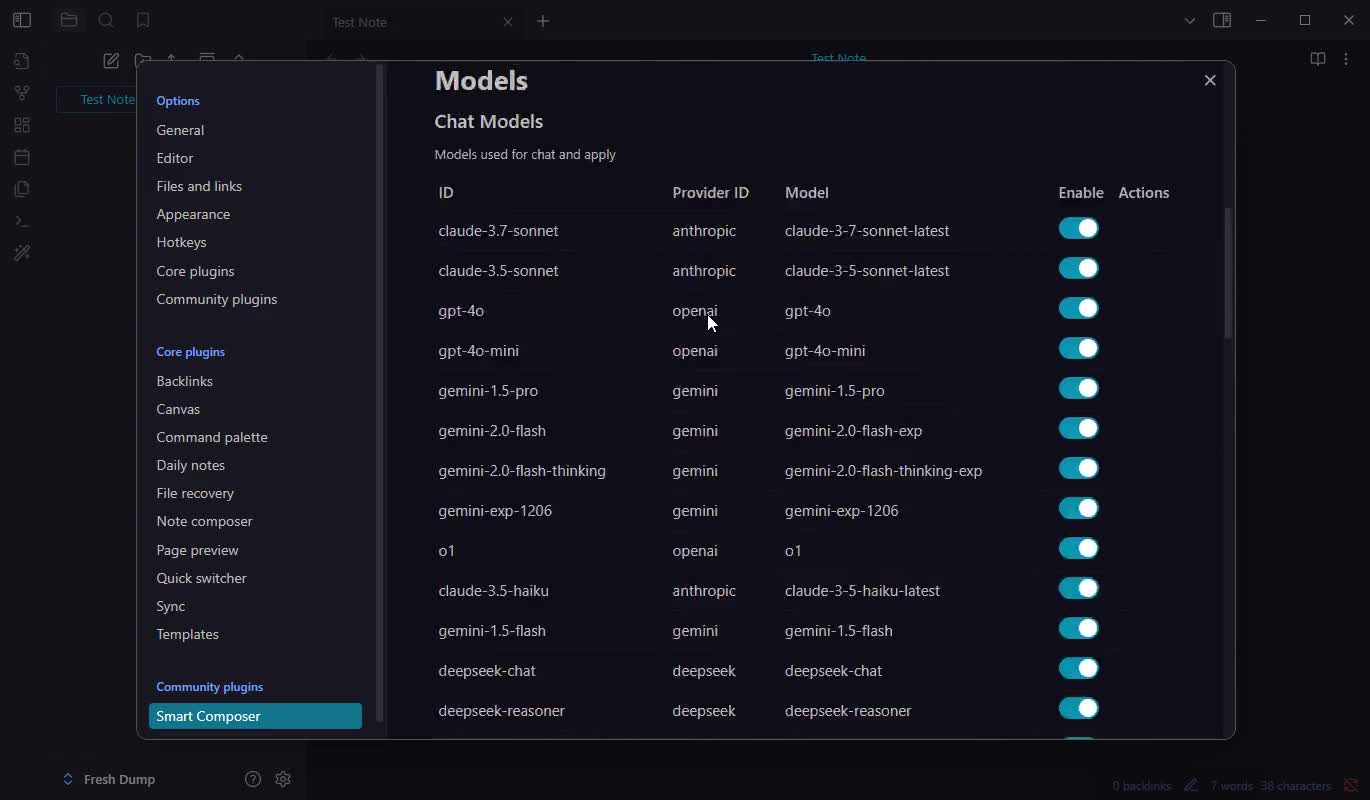
Models
The plugin allows you to specify which models to use for different tasks:
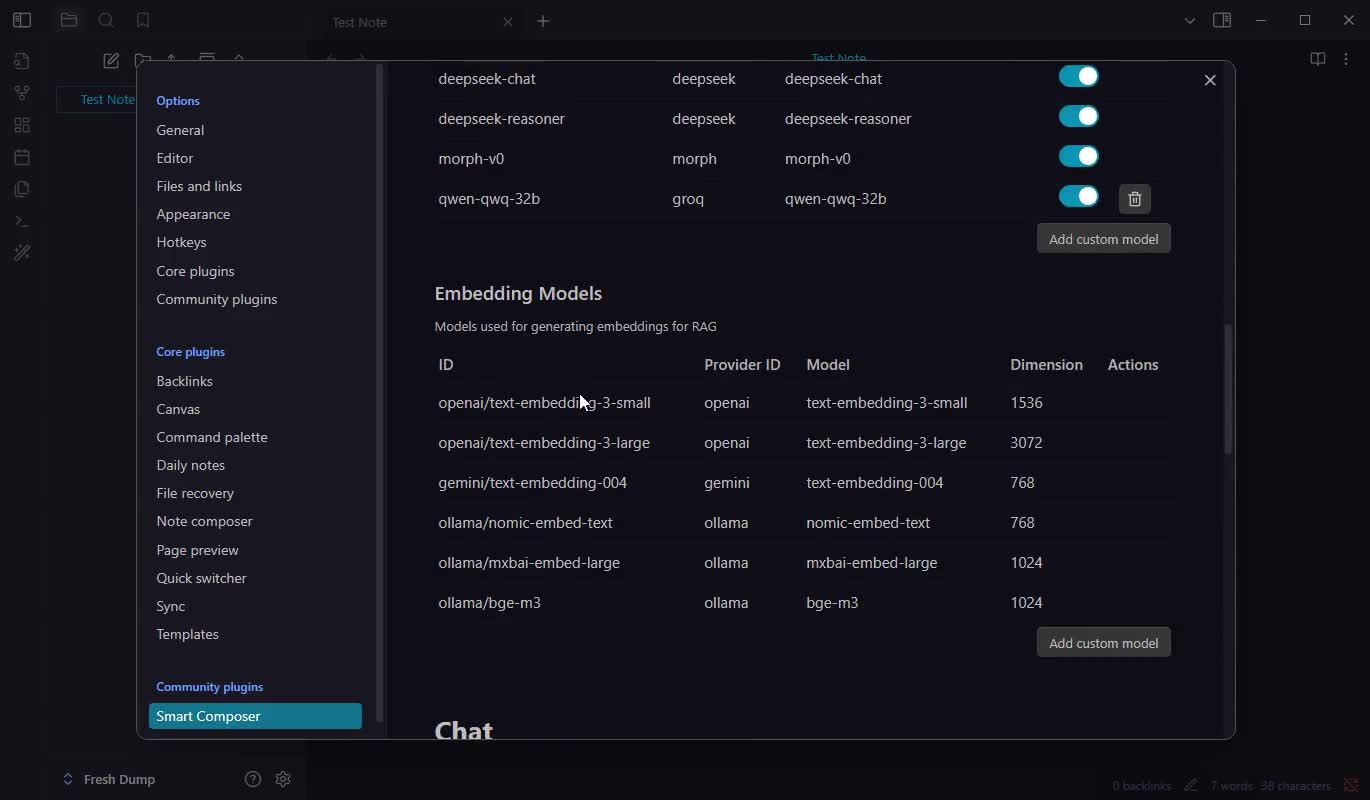
- Chat model: The main model for interacting in the chat pane. I added a custom model definition for Groq’s
qwen-qwq-32bmodel (you need the exact model name from the provider). - Apply model: The model used when applying suggestions as edits to your notes.
- Embedding model (for RAG): The model used for Retrieval-Augmented Generation. This turns your notes into numerical representations (embeddings) so the AI can find relevant context within your vault. OpenAI’s models are often recommended here.
You select the specific models you want to use further down in the settings. I chose my custom Groq model for chat and kept the recommended OpenAI models for applying edits and RAG for this demo.
System Prompt
You can also add a system prompt to give the AI some personality or specific instructions for every chat session. I added a prompt asking it to act like the “Grug Brained Developer” for fun.
Using Smart Composer
With the setup complete, you can open the chat pane using the command palette (Ctrl+P or Cmd+P on Mac) and searching for “Smart Composer: Open chat”.
The chat pane appears (usually docked to the right), and it automatically includes the current file as context. You can ask questions about your note, ask it to summarize, rewrite, or generate new content.
One of the coolest features is “Apply”. When the AI generates a response you want to incorporate into your note, you can click “Apply”. It shows a diff view, and you can accept the changes directly into your editor.
In the video, I asked it to generate some marketing copy for the “Grug Brained Developer” concept and then asked it to rewrite that copy in the style of Grug. The results were pretty entertaining, and applying them was seamless.
Conclusion
This combination of the Obsidianite theme and the Smart Composer plugin gives me an Obsidian setup that’s both aesthetically pleasing and incredibly powerful. Obsidianite provides a great look-and-feel with zero effort, while Smart Composer brings state-of-the-art AI capabilities directly into my note-taking workflow, leveraging the context of my own vault. The speed of Groq for chat combined with the quality of OpenAI for embeddings and edits makes for a fantastic user experience. It’s simple to set up but unlocks a lot of potential.