The typical way people turn a screenshot into HTML is to paste it into an LLM and say "recreate this." It works okay for layouts, but the measurements are always off. Padding is wrong. Gaps between elements are eyeballed. Font sizes are guesses. You spend more time fixing the output than you saved by not writing it yourself.
I've been experimenting with a different approach - using Gemini's bounding box detection as a measurement step before generating any HTML. It's not perfect and it's not a finished product, but it's a noticeable improvement over the one-shot method.
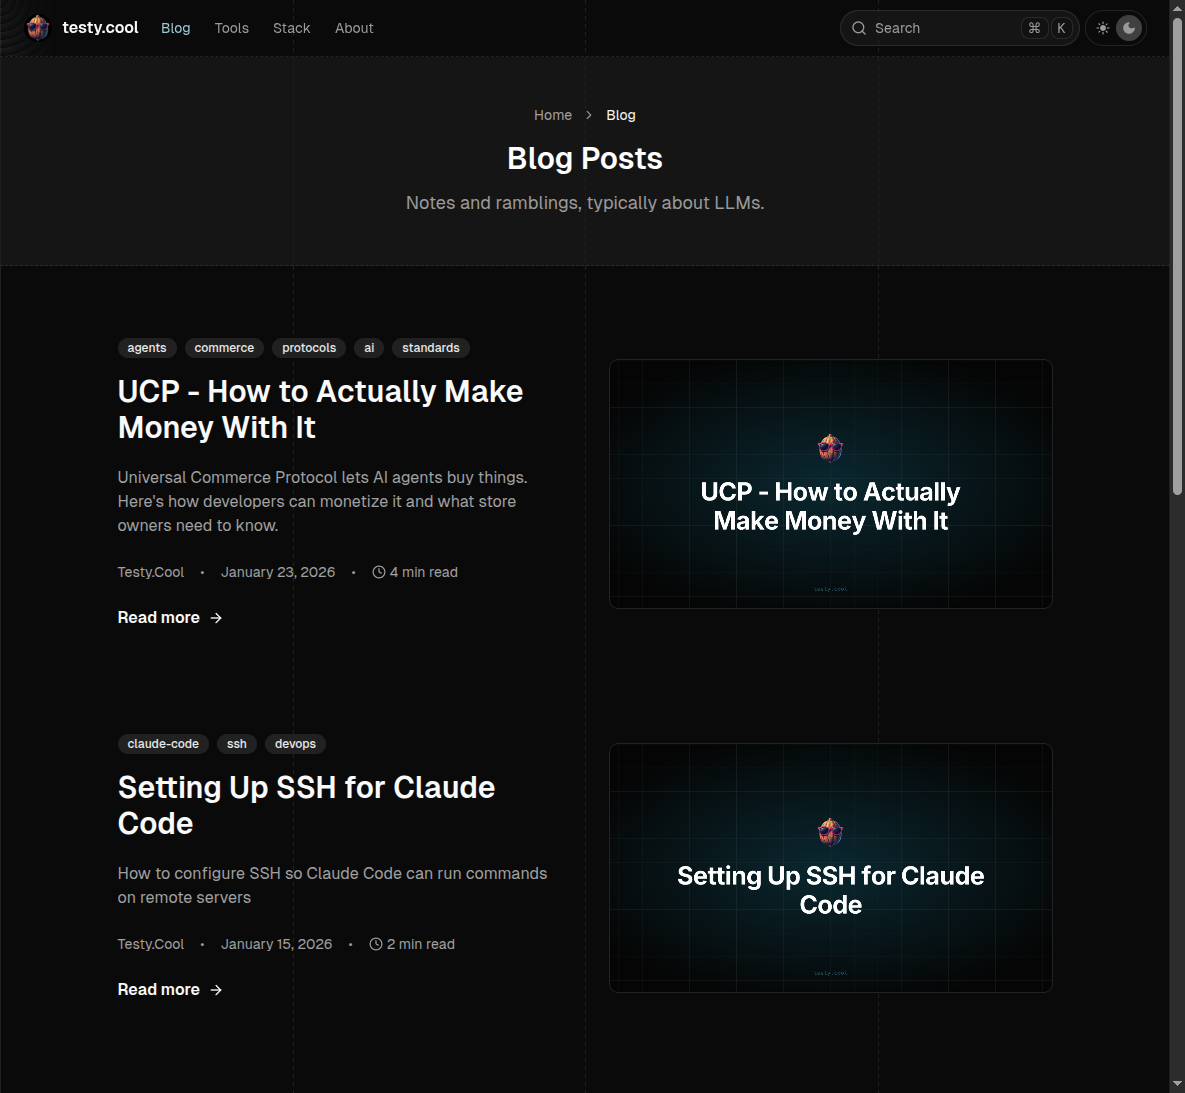
What it looks like
Here's the output of a single detection pass on this site's blog page. Each colored overlay is a bounding box - hover to see the element label, type, and normalized coordinates. Use the filters to isolate specific element types.
Detected Elements - testy.cool /blog
35 elements detected by Gemini 3 Flash in a single pass. Hover to inspect.
The idea
Gemini's vision models can return bounding boxes for objects they detect in images. You send a screenshot, ask it to identify UI elements, and it gives you normalized coordinates in a [y_min, x_min, y_max, x_max] format on a 0-1000 scale. Convert those to pixel values using the image dimensions and you have real measurements.
The key insight: instead of asking the LLM to guess at CSS values from a picture, you first extract structured layout data, then feed that data into the HTML generation step. The LLM gets exact pixel values instead of having to eyeball them from an image.
How it works
1. Define a schema for structured output
First, tell Gemini exactly what to return. Using structured output (JSON schema mode) means no parsing headaches - you get clean data every time.
Pass this to litellm (or the Gemini API directly) as a JSON schema:
2. Convert normalized coordinates to pixels
Gemini returns coordinates normalized to a 0-1000 scale. Converting to actual pixels is straightforward:
And for CSS overlays, the normalized coords map directly to percentages (divide by 10):
3. Multi-pass refinement
A single detection pass misses small elements nested inside larger containers. The fix: crop large containers from the image, send each crop to Gemini separately, then transform the crop-relative coordinates back to global coordinates.
4. Infer hierarchy from geometry
Parent-child relationships come from geometry alone. For each element, the smallest box that fully contains it becomes its parent. No LLM reasoning needed - just math.
5. Generate HTML with real measurements
Now the LLM gets structured data instead of just an image. The prompt includes the image for visual reference plus the full element tree with pixel-accurate measurements:
The HTML generation step can use either plain CSS or Tailwind. Because it has exact pixel values for every element, the output matches the original much more closely than a one-shot approach.
6. Refinement loop (optional)
Screenshot the generated HTML with Playwright, diff it against the original, send the diff back for corrections. This is where prompt caching really pays off - the same image context is already cached from previous passes.
The cost angle
If you're doing multiple passes on the same image - detection, style extraction, HTML generation, refinement - you're sending that same screenshot context repeatedly. Without caching, that adds up fast.
Prompt caching
Gemini 2.5+ and 3.x models have implicit caching enabled by default. You don't opt in - it just works. If the beginning of your request matches a previous request, the overlapping prefix gets a cache hit automatically.
What this means in practice: put the screenshot and system prompt at the start of your message, and the variable instruction at the end. On your second, third, fourth pass, the image tokens are served from cache at 90% off the standard input price.
| Model | Standard input | Cached input | Savings |
|---|---|---|---|
| Gemini 3 Flash | $0.50/M tokens | $0.05/M tokens | 90% |
| Gemini 3.1 Pro | $2.00/M tokens | $0.20/M tokens | 90% |
The image is the expensive part (screenshots are a lot of tokens), so caching it across passes saves real money. Minimum thresholds to trigger caching: 1,024 tokens for Flash, 2,048 for Pro. Any real screenshot blows past that.
The API response includes cached_content_token_count in the usage metadata, so you can verify it's working.
Flex inference
Google also offers a "flex" tier - set service_tier: "flex" in your request and you get 50% off both input and output tokens. The tradeoff is latency: requests can take 1-15 minutes instead of seconds. For a build-time pipeline where you're not waiting interactively, that's fine.
| Model | Flex input | Flex output |
|---|---|---|
| Gemini 3 Flash | $0.25/M tokens | $1.50/M tokens |
| Gemini 3.1 Pro | $1.00/M tokens | $6.00/M tokens |
Cache and flex discounts don't stack multiplicatively - the cache discount (90% off) takes precedence on cached tokens. But flex still applies to non-cached input and all output tokens.
What this actually costs
Here's a concrete example. Say you're running a 5-pass pipeline on a full-page screenshot using Gemini 3.1 Pro: detection, style extraction, HTML generation, and two refinement passes. The image + system prompt is about 10K tokens (cacheable), each pass adds ~500 new instruction tokens, and outputs average ~4K tokens.
Pass-by-pass breakdown (Gemini 3.1 Pro, with flex + caching):
| Pass | What it does | Input tokens | Cached? | Input cost | Output cost | Pass total |
|---|---|---|---|---|---|---|
| 1 | Detection | 10,500 | No | $0.0105 | $0.024 | $0.035 |
| 2 | Style extraction | 10,500 | 10K cached | $0.0025 | $0.024 | $0.027 |
| 3 | HTML generation | 10,500 | 10K cached | $0.0025 | $0.024 | $0.027 |
| 4 | Refinement #1 | 10,500 | 10K cached | $0.0025 | $0.024 | $0.027 |
| 5 | Refinement #2 | 10,500 | 10K cached | $0.0025 | $0.024 | $0.027 |
The totals:
| Pricing tier | Total input | Total output | Grand total |
|---|---|---|---|
| Standard (no optimization) | $0.105 | $0.240 | $0.345 |
| Caching only | $0.027 | $0.240 | $0.267 |
| Caching + flex | $0.021 | $0.120 | $0.141 |
That's a 59% reduction - from 35 cents to 14 cents per screenshot. And if you use Gemini 3 Flash instead of Pro for the detection passes (which I'd recommend), the first two passes cost almost nothing.
On Flash, the same 5-pass pipeline with caching + flex comes out to about $0.02 total. Two cents per screenshot. At that price, you can run the refinement loop aggressively and still not care about the bill.
What models to use
Gemini 3 Flash is my go-to for the detection passes. It's fast, cheap, and the bounding box detection is solid. For a pipeline that makes 4-6 API calls per screenshot, the cost stays negligible.
Gemini 3.1 Pro is better for the final HTML generation step where you need the model to reason about layout relationships and produce clean code. Worth the premium for that one call.
I haven't tested 3.1 Flash much for this workflow, so I can't say how it compares.
What this doesn't solve
- Dynamic content, animations, interactions - this is static screenshots to static HTML
- Complex responsive behavior - the output is pixel-accurate at the source resolution, not inherently responsive (though you can add a pass that converts fixed values to
clamp()functions) - Pixel-perfect fonts - the model identifies font sizes and weights but can't always match the exact typeface
- It's still an approximation - bounding boxes on a 0-1000 normalized scale have rounding error, and Gemini occasionally misidentifies element boundaries
But for the case where you have a screenshot, you need something close to it in HTML, and you're in a rush - this beats the one-shot approach every time I've tried it.
Last updated on